


Aesthetic dentistry
Patients’ aesthetic expectations are increasing day by day. From this perspective, rehabilitation of the visible area is becoming increasingly demanding, which means that the patient’s wishes, as well as our own and the available technological capabilities for fulfilling them, must be understood as thoroughly as possible during the planning stage. Typical aesthetic rehabilitation procedures include the fabrication of so-called aesthetic veneers in the visible area (upper incisors), which are among the less invasive procedures.
Treatment example:
The patient came to the dental practice primarily because he was dissatisfied with the appearance of his teeth. At the beginning, we took a detailed medical history, from which we attempted to understand as thoroughly as possible both the reason for and the objective of the patient’s decision to undergo treatment. We took photographs of the initial condition (before beginning the work) and impressions of the still-intact teeth in the upper and lower jaws.
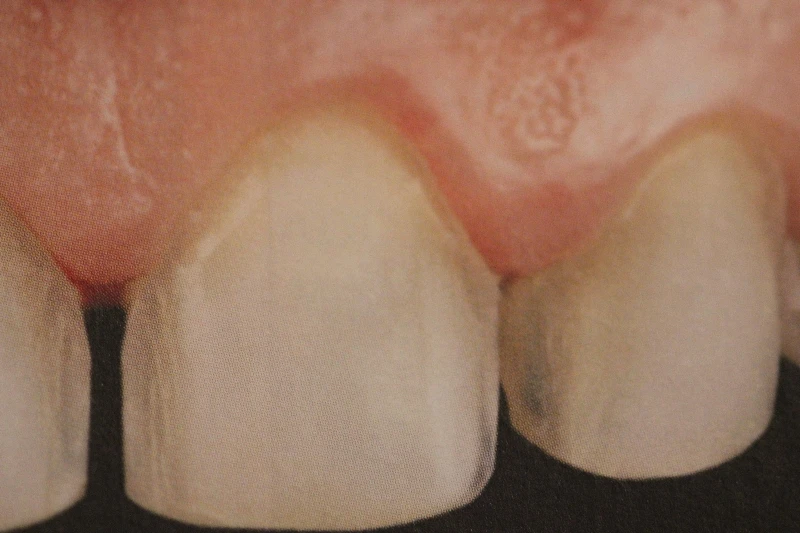
The images show worn incisal edges and a diastema (gap) between the two central incisors, which particularly bothered the patient.
We decided to fabricate twelve all-ceramic veneers (six in the upper jaw and six in the lower jaw). Before beginning the work in the mouth, the patient wanted to know what the final condition would look like after completion of the treatment. We made a model showing the future shape of the teeth.

We decided to fabricate twelve all-ceramic veneers (six in the upper jaw and six in the lower jaw). Before beginning the work in the mouth, the patient wanted to know what the final condition would look like after completion of the treatment. We made a model showing the future shape of the teeth.

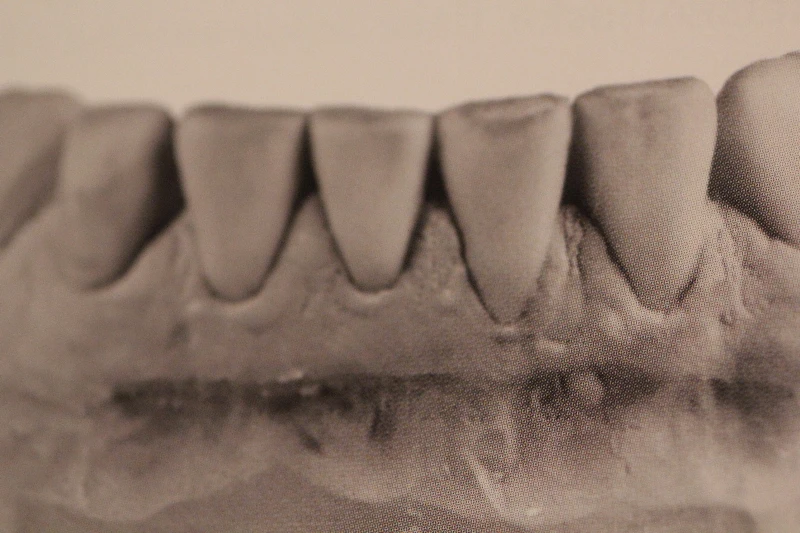
Since the patient expressed satisfaction with the anticipated new shape of the teeth, we used the model to make a silicone key and, using material intended for the fabrication of temporary crowns, reproduced the future shape and colour of the veneers in his mouth.
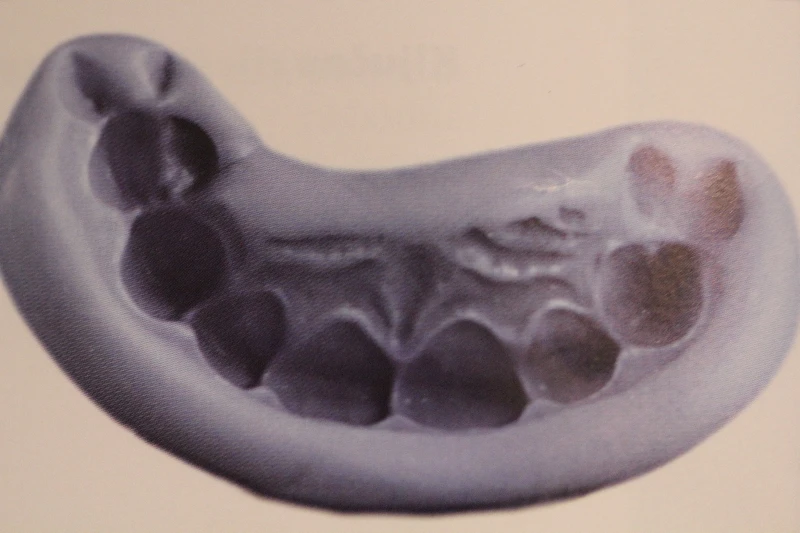
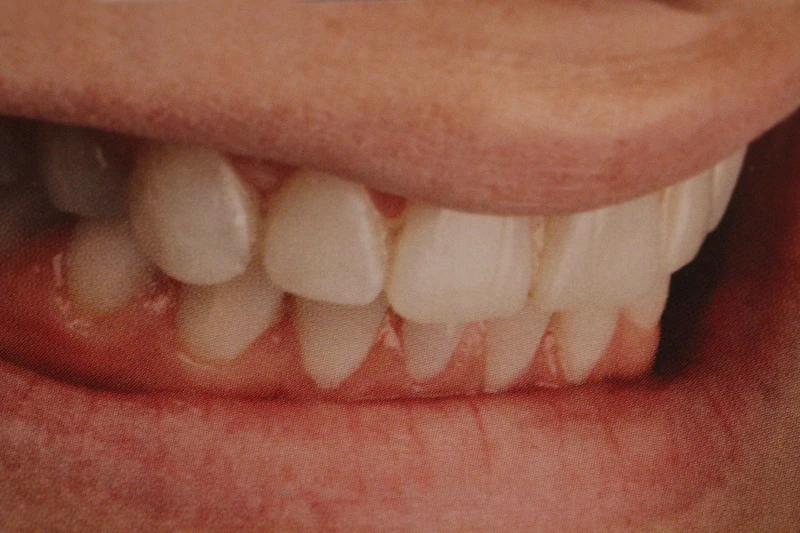

During this work, we did not damage or alter the existing teeth in any way. In the mouth, we made further minor adjustments to the shape and colour of the “temporary” or “planning” restorations until the patient was completely satisfied with the result. We photographed the condition and took an impression for a new silicone key, which would serve as the basis for the shape of the final result. We received the green light for the final restoration.
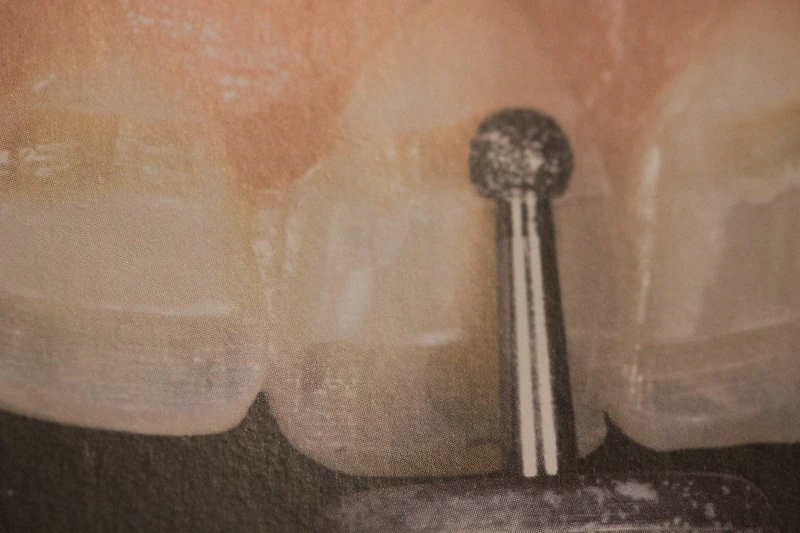
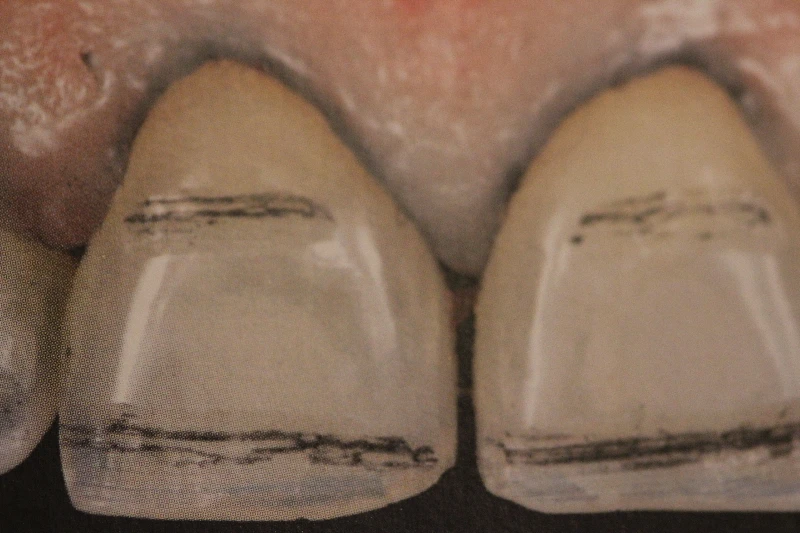
Enamel preparation for aesthetic veneers is minimal because the materials from which the veneers are made do not require substantial thickness. The minimum depth of enamel preparation is therefore only 0.4 to 0.7 mm. We achieved the planned depth by making two grooves, 0.4 mm deep, in the temporary veneers placed on the teeth. We coloured the bottoms of the grooves, which provided precise information about when the natural teeth had been prepared to a sufficient depth. After removing the temporary material and part of the enamel (until the dye at the bottom of the grooves had been removed) and polishing, the teeth were ready for the impression.
We took a one-stage, two-component impression using silicone impression material (Elite) and retraction cords so that the preparation margin was clearly visible in the impression. We selected E-Max as the material for fabricating the ceramic veneers. After the model had been cast, a wax-up of the veneers was made in precisely the shape provided by the temporary model described above. The wax patterns of the veneers were accurately weighed so that we could determine the exact amount of material required for each veneer. The individual wax patterns were invested in investment material so that the pressing procedure could be performed. The moulds were cooled, and the restorations were removed from the investment material. This was followed by sandblasting with aluminium oxide at low pressure. The ceramic veneers were selectively reduced only in areas where greater material translucency and a special combination of colours were required. The incisal area was treated separately by applying incisal material, as was the gingival area, to achieve a more aesthetic transition to the gingiva.
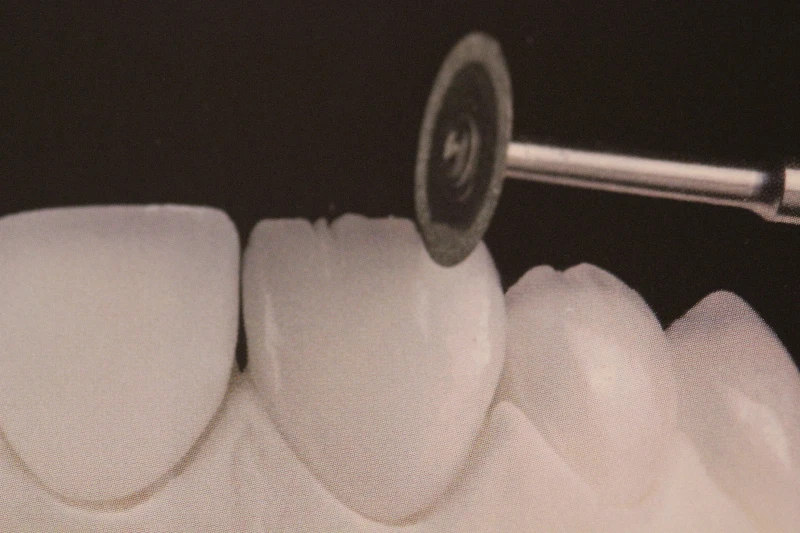
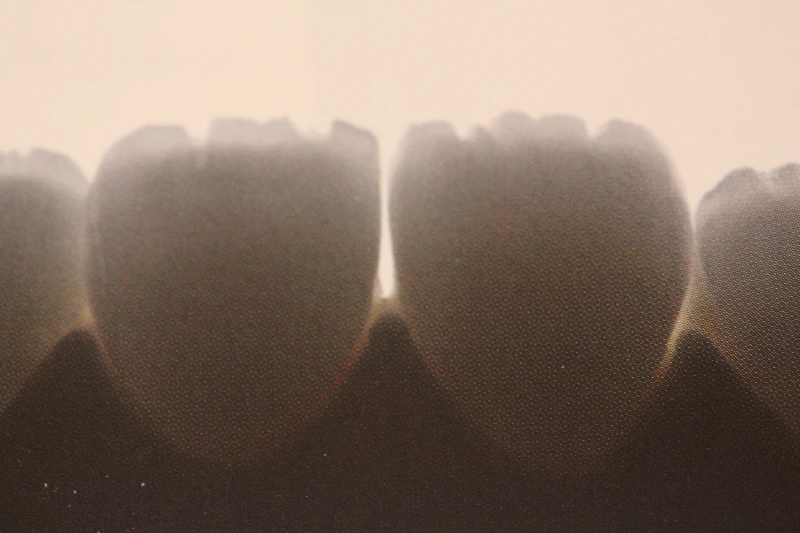

Once shaping was complete, we specially treated the contact points and microstructural areas responsible for the correct reflection of light and the surface form of the veneer. For this purpose, we fabricated artificial tooth dies from a light-curing composite whose optical properties are very similar to those of a natural prepared tooth. These were used to determine the exact colour and optical effects of the veneer after the porcelain firing had been completed. At the end of the procedure, we applied a specially formulated glazing material to the veneers and fired them once more. After firing, the veneers had to be finished with a diamond rubber polisher and sandblasted with glass beads at low pressure. The veneers were complete.
We invited the patient to a try-in appointment. The veneers were provisionally cemented using Try in paste.

We examined the veneers under different lighting conditions and from different angles. The patient was also able to inspect the details himself using an intraoral camera, which displays a highly magnified image of the restoration in the mouth on a screen. The patient was satisfied with the restoration. We decided to proceed with final cementation.
Before cementation, we etched the internal surfaces of the veneers with hydrofluoric acid for two minutes.
Before cementation, we etched the internal surfaces of the veneers with hydrofluoric acid for two minutes.

After rinsing off the acid, we immersed them in an ultrasonic bath, dried them and applied silane for one minute. We applied adhesive (Single bond 2) to the internal surfaces of the veneers without light curing.

We etched the prepared teeth with phosphoric acid and rinsed it off thoroughly after allowing it to act for half a minute.

We also applied adhesive to the prepared teeth.

After all the preparatory procedures described above, we cemented the veneers using colourless light-curing RelyX cement.

The procedure was thereby completed to the satisfaction of both our team and the patient.


✦ This content was translated from the original with the assistance of an AI translation system.